
Logiciel de gestion immobilière
Plus de temps pour ce qui compte vraiment
Les clients de Proprio Expert disent sauver plus de 50% de temps grâce à notre logiciel de gestion
Une seule plateforme pour tout gérer
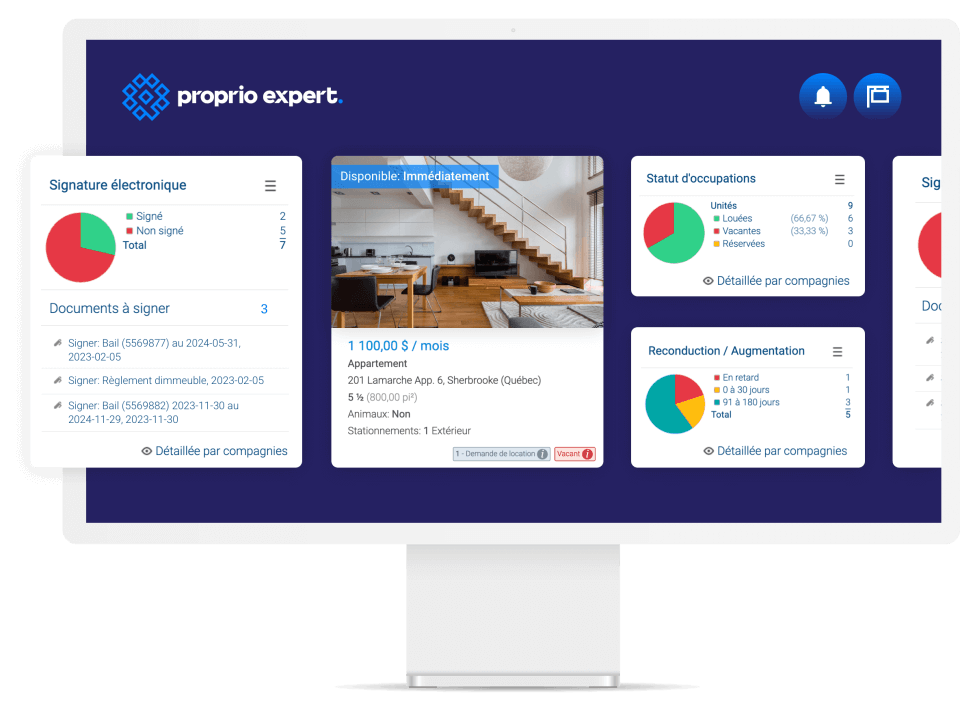
Fini la multiplication des outils et de la paperasse! L’interface conviviale de Proprio Expert simplifie la gestion quotidienne en permettant aux utilisateurs une vue d’ensemble de leurs propriétés en temps réel.
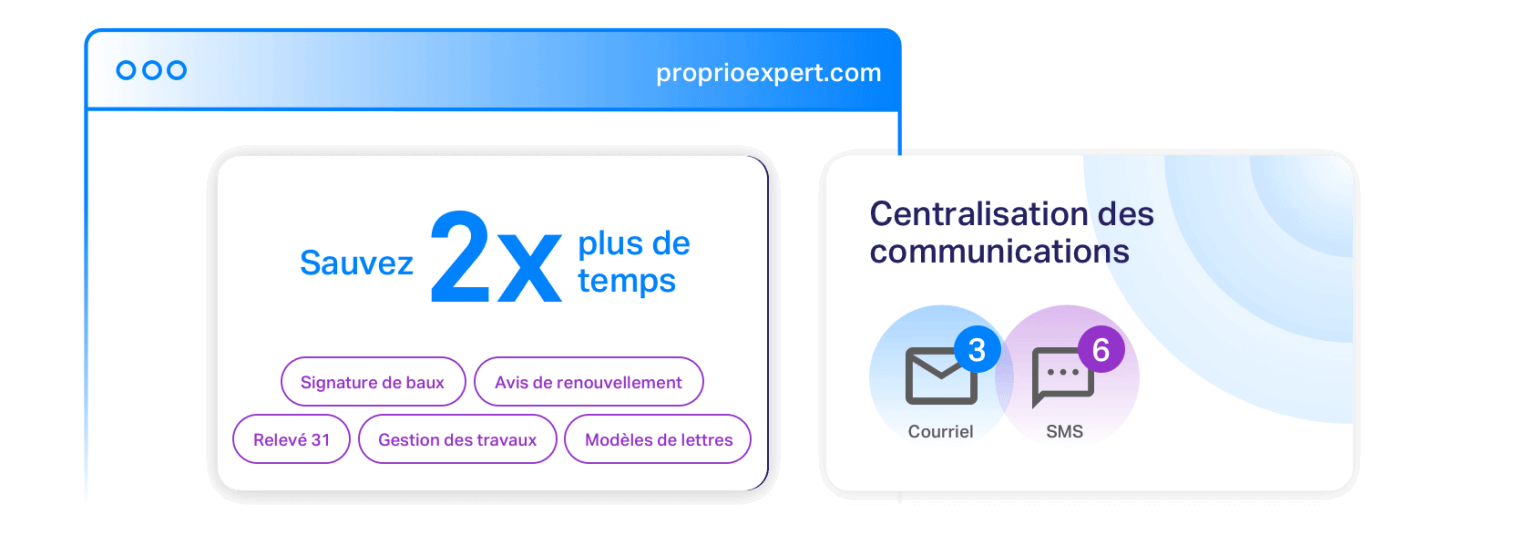
Gestion des opérations efficace*
Portail locataire, automatisations, outils de gestion des travaux et système de communication conçus pour vous rendre plus productif, que vous ayez 20 ou 2 000 portes.
*2 fois plus rapide selon un sondage interne auprès de nos clients
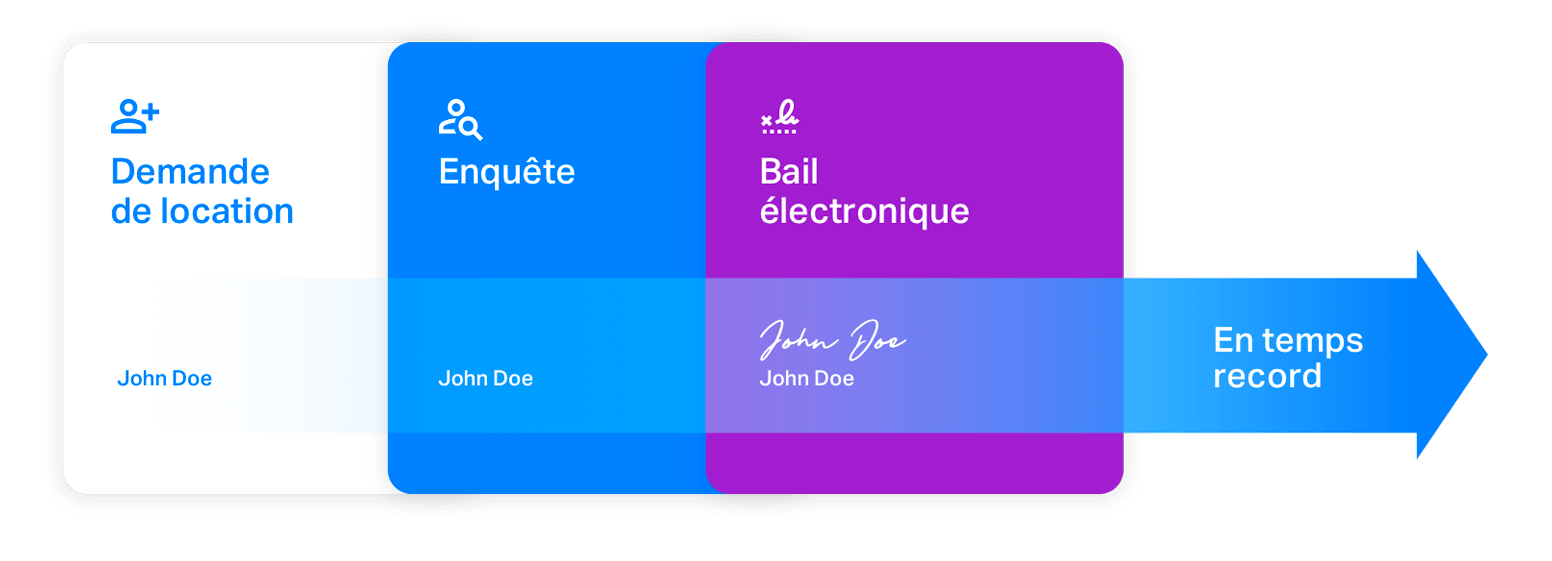
Processus de location en quelques clics
À partir de la demande de location pour procéder ensuite à vos enquêtes de prélocation et même remplir le Bail électronique sans avoir à retranscrire les informations!
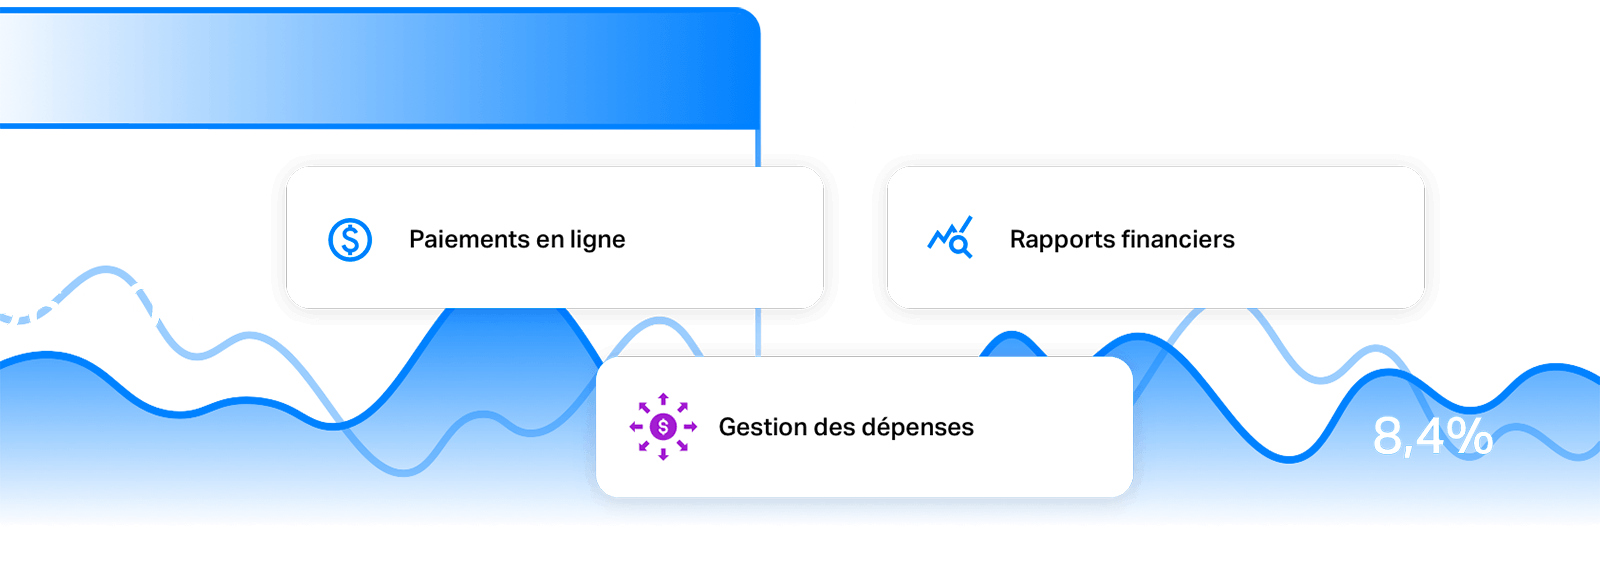
Comptabilité sans stress
Notre plateforme simplifie l’ensemble du processus pour vous, du suivi des dépenses à la génération de rapports financiers pour la saison des impôts.
Analyses de vos investissements
Option d’analyse de rentabilité de vos immeubles avec plus de 15 ratios de performance, des prévisions financières, une évaluation du prix de vente et des rapports professionnels.

Nos clients

Plus d’un propriétaire satisfait
Nous sommes très fiers de notre classement 5 étoiles sur Google, qui témoigne du service exceptionnel que nous fournissons.
Sylvain Fortier
Très bon logiciel pour la gestion immobilière. Le support technique est aussi rapide et efficace.
Je recommande!
Lucie Lafontaine
Je ne suis pas la personne la plus habile en comptabilité mais avec le soutien de Henry Cordonero c’est plus facile ! Merci !
Maryse Laurendeau
Je suis propriétaire d’immeubles locatifs. Nous utilisons Proprio Expert pour la gestion de nos immeubles. C’est facilitant car l’ensemble de l’information est regroupé en un seul endroit.
So Hu
On a reçu un excellent service de la part de M. Henry Cordonero. C’est très bien expliqué et très professionnelle dans ses réponses.
Chantal Grenier
Très bon service, autant aux service à la clientèle qu’aux ventes. Merci à l’équipe !
Très apprécié !
Julie Bélanger
Je fais de la gestion immobilière sur Proprio Expert. Cette plateforme est parfaitement conçue et le service à la clientèle ainsi que le support technique sont extraordinaires.
Ce qui nous différencie depuis 20 ans, c’est l’innovation et notre support client
Nos clients satisfaits ne cessent de louer notre dévouement, notre professionnalisme et notre capacité à dépasser les attentes.

Formations et ressources
Faites carrière chez nous


